Monday, 13. August 2012 - 07:30 h
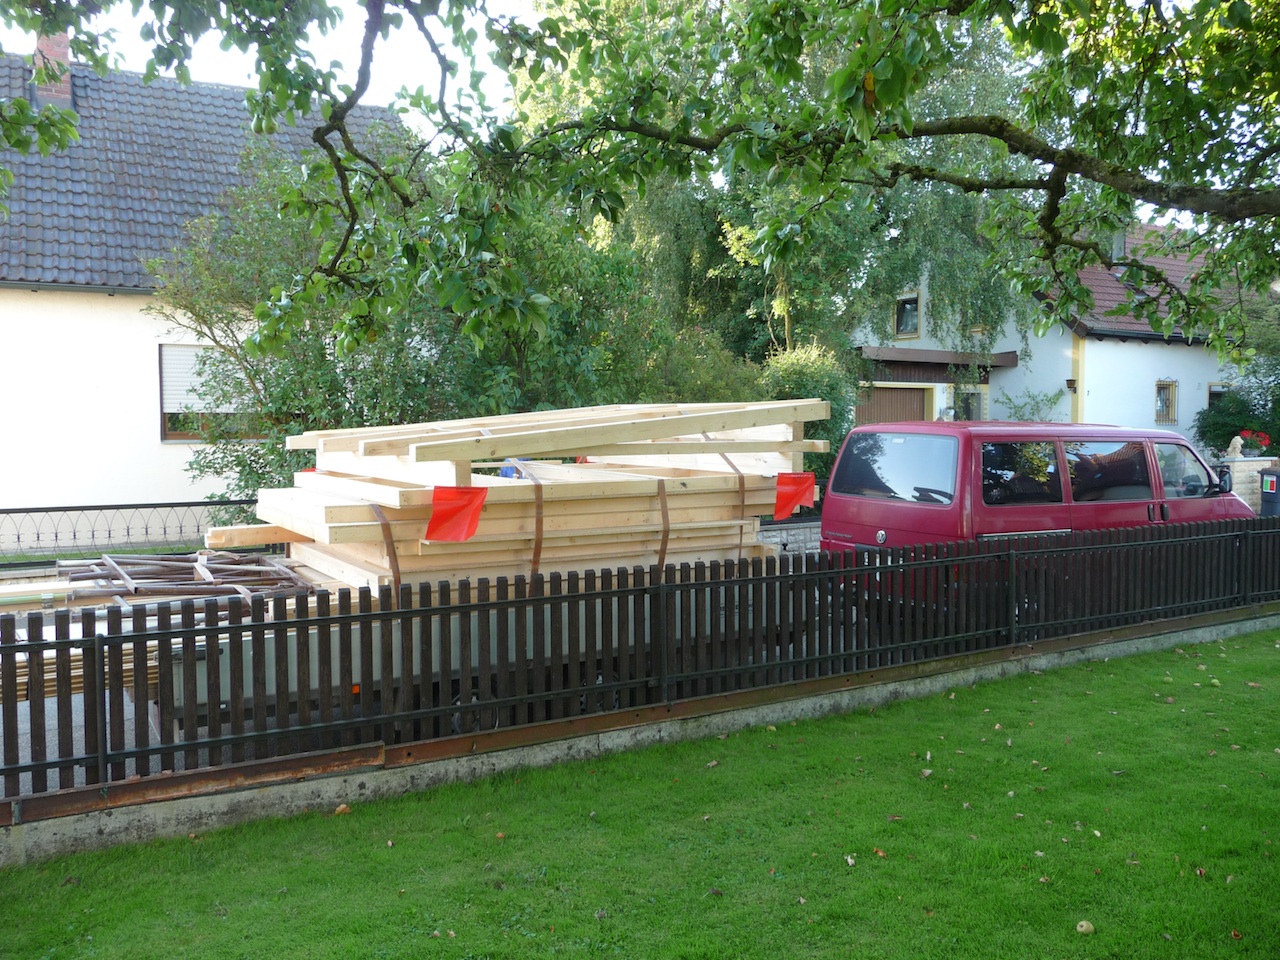
So today is the day, the observatory is coming! My carpenter Thomas arrived on time at the construction site and had loaded the observatory onto his trailer.
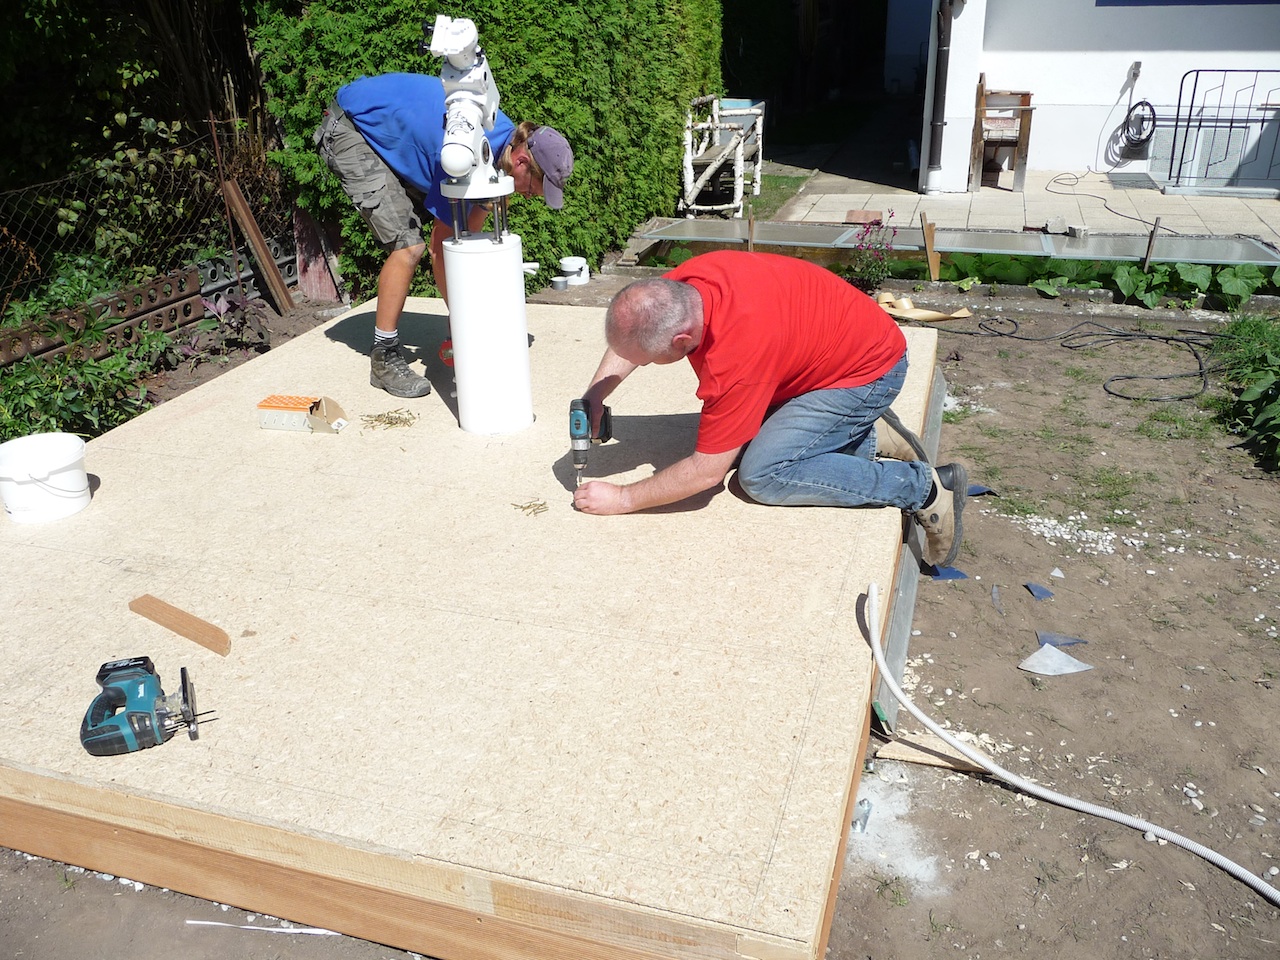
Everything was initially spread out in the garden. The observatory rests on the ground, so it needs excellent stability. Thomas' basic construction was screwed to the point foundations with anchors and filled with gravel, which was delivered much too late, and then finished with roofing felt and OSB boards. My buddy Lars had a brilliant idea. Normally you pour the gravel in a strip of about 30cm around the hut. But this would have meant a lot of work: setting kerbstones. Lars thought that one could simply use Bankirai Woodat the base, which would thus serve as an apron and save this effort. No sooner said than done.
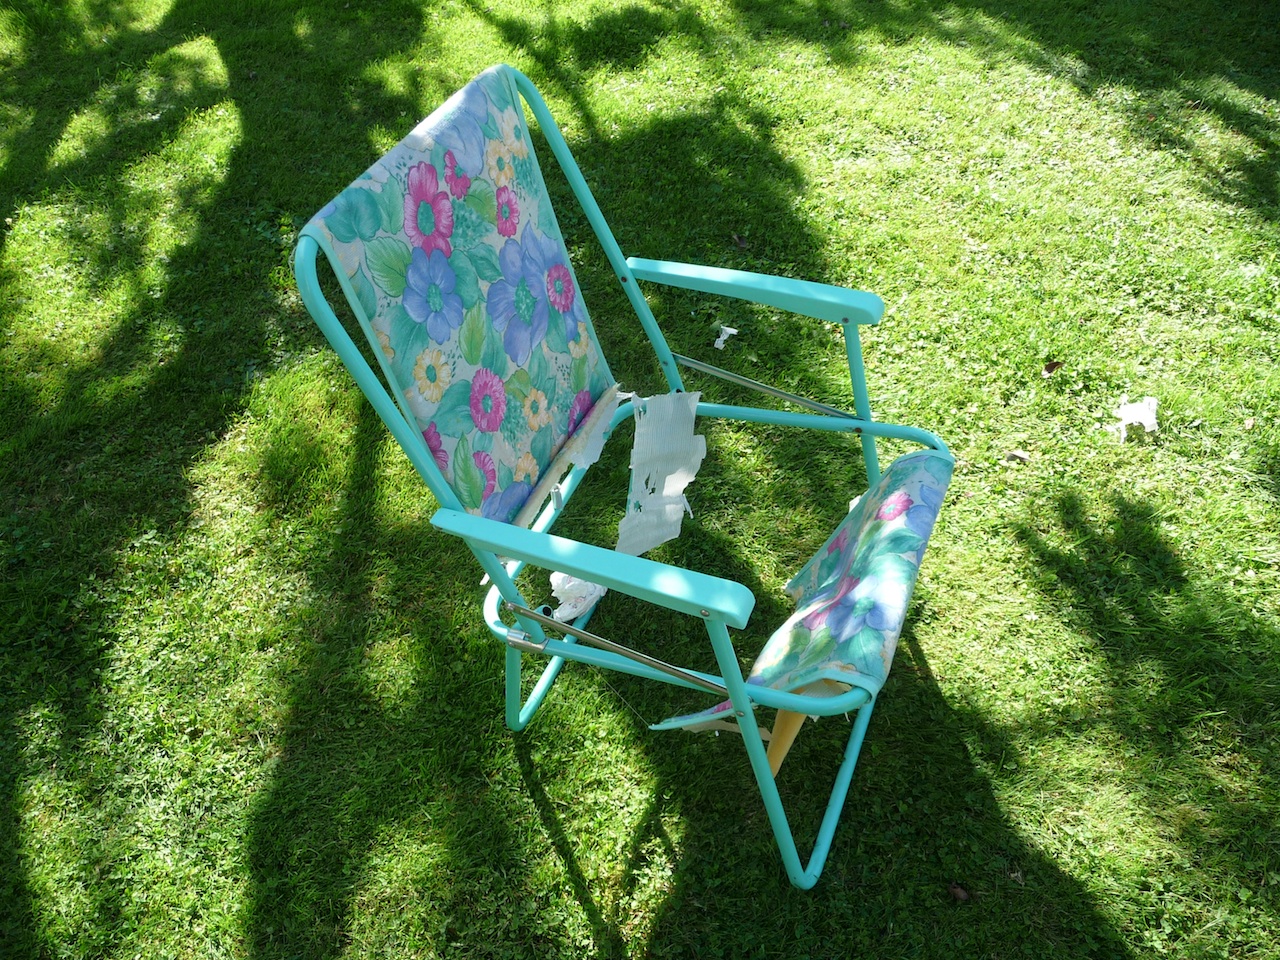
Then we had a snack. It was already 11 o'clock and the ladies had earned it. I contributed to the amusement with my camping chair acrobatics... Haha...
g) Wände
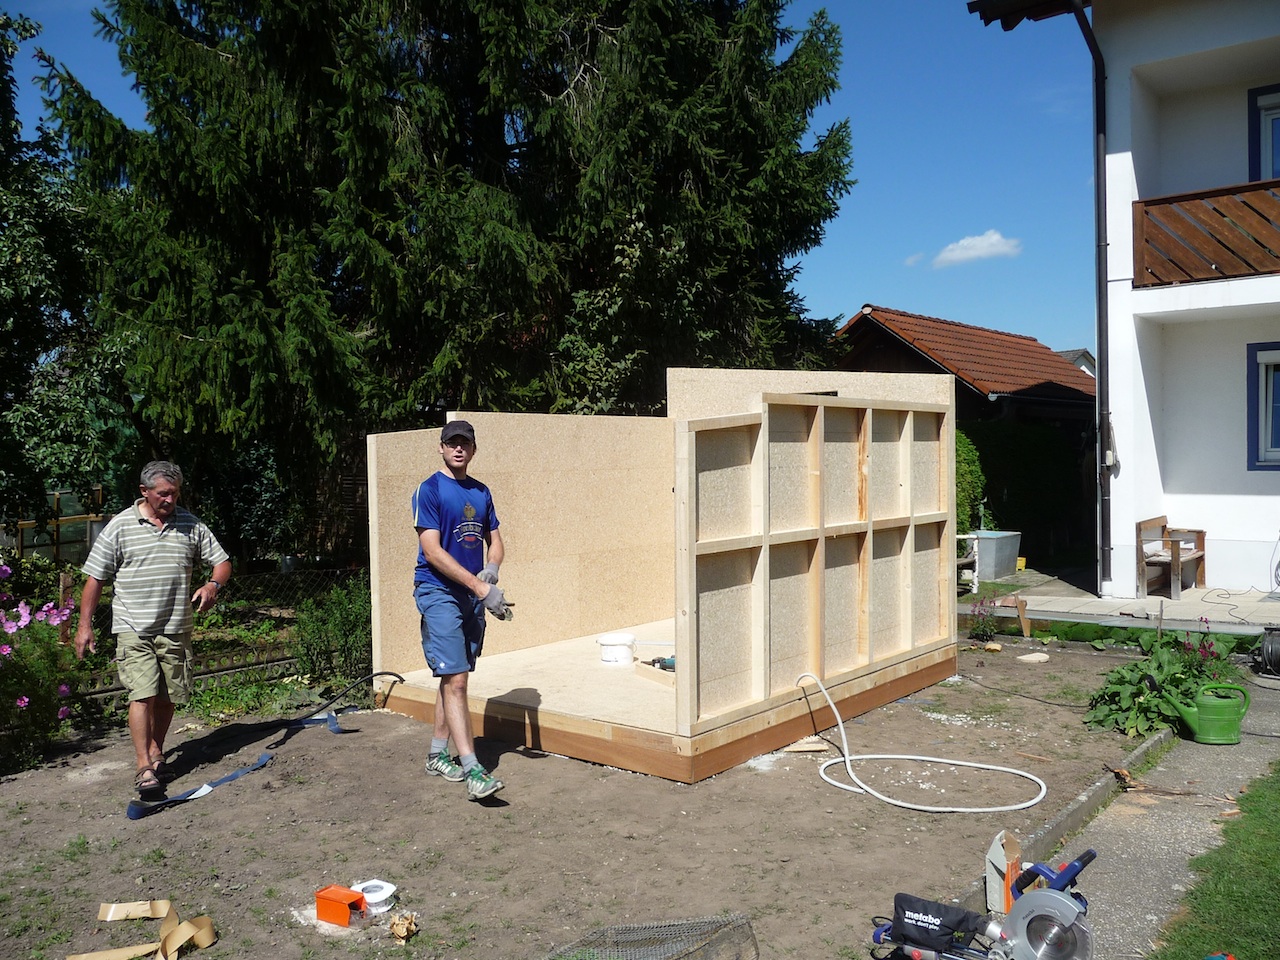
Now things went very quickly. The individual wall segments had already been prepared by Thomas and could thus be erected quickly. Putting up the walls only took about 90 minutes.
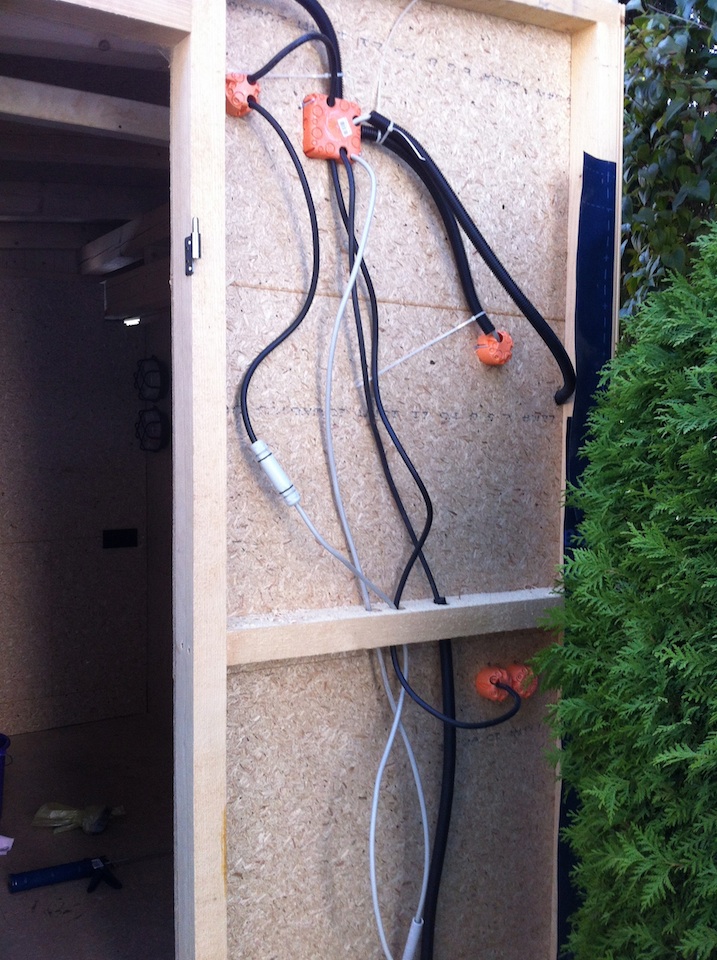
Die Wände bestehen innen aus OSB-Ülatten, um die 5cm starke Balken die Rahmenkonstruktion bilden. Luft ist bekanntermassen ein guter Isolator. Deswegen verzichtete ich auf irgednwelche Styropor oder sonstigen Füllmaterialien. Wenn man auf einer derart gut funktionierenden Baustelle ist, sprechen sich die einzelnen Fachbereiche (Kontruktion und Elektrik) direkt untereinander ab und bohren schon mal Löcher in die Balken für die Leerrohre der Elektrik sowie die Unterputzdosen. Ist dies alles geschehen, werden auf die Rahmen Nut- und Federbretter geschraubt.
h) Dach
I wanted a flat roof. I just didn't want the look of a garden shed. There is already one of these in the garden. So Thomas chose a flat roof variant with a 5° pitch, which was to be insulated against strong sunlight with natural insulating material (panels about 7 cm thick). On top of this came a counter-battening and the roof made of a kind of corrugated sheet metal, which protrudes about 15cm on the sloping side to let the rainwater run down a little away from the observatory. The frame alone was very heavy, so that all five people present had to help lift it.
After the roof had been lifted, it was further worked on with the insulation and sheet metal work just mentioned. Since it had now gained a lot of weight, it was no longer easy to move with one finger. You have to push or pull it quite a bit to move it.
At the end of the first day, the emerging observatory looked like this:
i) Elektrik
Lars and I were still busy until 0:30 in the morning inside the observatory, laying cables, placing boxes and fixing the empty pipes with cable ties and screws to the outside of the OSB boards, so that Thomas, the carpenter, could start planking with tongue and groove boards the next day.
Wie konnte es anders sein, als daß Larsi wieder einen genialenGedanken hatte. Normalerweise verwendet man ja 230 Volt. Manche Geräte wie die Montiierung, Kameras, Fokusierer und anderes Gedöhns benötigen aber 12V. EIn extra 12V Netzteil hatte ich ja schon. Lars dachte also, man könne mit der Hauptstromleitung in die Sternwarte (230V) und vom Netzteil zusätzlich 12V einspeisen und sich somit lästiger zusätzlicher Kabel entledigen. Dafür verwendete er ein 5adriges Stromkabel und baute das Netzteil entsprechend um. Perfekt!
When it came to lighting, I first thought of LED lighting. My friend Armin works for an electrical wholesale company and provided me not only with material but also with appropriate catalogues on the subject of LEDs. Take your pick, he said. Lars and I browsed. Some fine things there! Suma sumarum, however, spending 300 euros just for red and white light was too much of a good thing, and so we ended up with four DIY store lamps for the cellar at four euros a piece. Does just as well as LED. Ha!
j) EDV
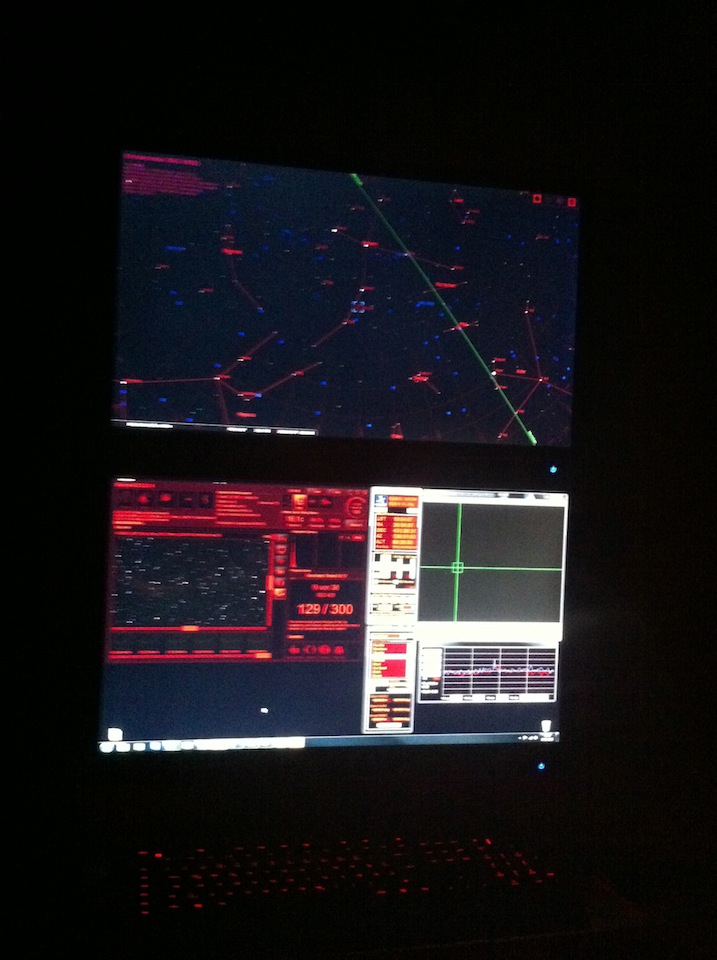
Of course I wanted a PC to control the mount and take pictures. So I bought an old computer from my employer for little money, put Windows 7 on it and all the other programmes I needed. ASCOM, Backyard EOS, Stellarium and PHD Guiding. The whole thing was to run on two 24″ TFTs, which I bought on special offer from Aldi in June. These TFT's are mounted on top of each other in the IT corner of the control room using wall brackets, can be swivelled and are very space-saving. The best thing is that everything works.
Da ich um jeden Preis Kabelsalat und Stolperfallen vermeiden wollte, dachten Matthias und ich bereits beim betonieren der Säule an ein Leerrohr für das USB Kabel, durch das ein aktives Kabel vom HUB an der Säule ins IT Eck laufen sollte. So. Jetzt kam dieses Kabel und war natürlich – zu dick am Stecker. Lars kam mit einer Zange und… er tat es!!! Schnapp, war es ab das Kabel. Hermann und Lars zogen das kastrierte Kabel durch das Leerrohr. Als es durch war, lötete Lars mit viel Fingerspitzengefühl alles wieder an. Passt. Die Enttäuschung kam später, denn Win 7 meldete, daß es doch von Vorteil wäre, wenn die Geräte an einem USB 2.0 Verteiler angeschlossen wären. Hääää? Wie 2.0? Ich hab doch 2.0! Schau! Da! Auffer Packung steht doch 1.1… schei….eeee!!!! Irgendwas ist ja immer, aber in der Zwischenzeit behelfe ich mir mit einem USB 2.0 Verlängerungskabel, welches eben auf dem Boden von der Säule zum PC läuft. Lars hat schon ein passendes Kabel mit Mini Stecker ausfindig gemacht, das kommt noch.
k) Optik
Meine Optiken standen nun fest. Der Vixen VMC200L und er Orion ED80 (Einstein und Dante) sollten es sein. Also liess ich ihnen noch vor dem Einzug in die Sternwarte etwas gutes zukommen und fuhr mit ihnen letzten Donnerstag nach Haßfurt zum Optik-Guru Herrn Rohr. Der Trip von 700km sollte sich auszahlen, denn wenn dann richtig. Die Optiken sind beide in Ordung, und Dank vieler Ideen meineer Astrofreunde Michael, Christian und einiger anderer meines Wirkungskreises im Forum Stellarumwar schnell eine Lösung fgefunden, wie man die beiden „verheiraten“ konnte – per Huckepack. Ralf Mündlein he also gave me some valuable tips during a memorable evening in Franconia, where I was allowed to meet my astro friends for the first time and fell off the wagon in Ralf's super observatory about what is possible and what a few wheat beers can do, right Uwe? 😉
Another problem emerged, which is not entirely without its difficulties. When planning the observatory, I assumed that my 8″ Newton would be used and dimensioned the concrete column according to the expected useful height. With the Newton, you look into the telescope relatively close to the tube opening. So that's ok, it has a length of one metre. But now I use other equipment where you look into the optics at the end, and they are also much shorter. So the column is too short to look sufficiently to the south, where exciting objects can be observed in summer (Trifid and Eagle Nebula) and in winter Orion with your nebula of the same name as well as Horsehead and co. are waiting. Bummer. But there will be a solution for that too.
Jetzt muss ich sie nur noch perfekt ausbalancieren, einscheinern und deckungsgleich bringen, dann ist auch dies erledigt. Aber man braucht ja auch noch etwas zu tun für die Zeit zwischen den Spechtelabenden…
l) restliche Arbeiten
Mittwoch und Donnerstag wurde viel gestrichen. Dank einer genialen Idee meiner Albireo entschied ich mich für die Farben weiss als Hauptfarbe und blau für die Akzente. Meine liebe Tochter half mir bei sengender Hilfe mit dem strecihen, ohne zu murren oder zu knurren. Zum Glück sind grosse Ferien. Mit viel Disziplin und Einsatz verhalf sie der Sternwarte zu ihrem optischen Endstadium und verwendete dabei 5l weiße und 1,5l blaue Farbe. Danke Maus!
Erde um eine Sternwarte herum ist natürlich suboptimal. Deswegen säte ich Rasen an. Hab ich ja schon 1000 mal gemacht. Lach. Noch nieee! Auf der Verpackung des Saatgutes stand in Kreuzform ausstreuen. Mhmmmm. Mach ich. Dann drübertrippeln um die Saat ins Erdreich zu befördern. Auch ok. Aber das giessen im 2stundentakt bei über 30°C ist schon heftig. Und wann geht das Zeug mal auf? Wir werden sehen. Aus dem Vorgarten entnahm ich drei Stauden Chinaschilf und grub diese ein. Und den Hammer brachte natürlich Matthias mit Familie. Ich fragte, woher sie ihre Thujas hatten. Er meinte, das ist ein Lebensbaum, Mann! Mir doch wurscht. Seine Liebste Vroni sagte, ich könne die da vorne am Hauseck gleich mitnehmen. Was? Einfach so? Klar! Wahnsinn! Und schon hatte ich eine Thuj… ääähm einen Lebensbaum zur Sternwarte.
Ohne meine Freund und Nachbarn wäre dies alles nicht möglich gewesen. Alleine Matthias hat wiederholt seine Freizeit geopfert, am Montag sogar einen kompletten Urlaubstag, um mir zu helfen. Lars fuhr extra von Biberach zu mir um zu helfen, ein wahrer Jagdwolf! Hermann half auch jederzeit und gerne, dank des guten Maxlreiner Bieres und mein Zimmerer Thomas, der meine Ideen zu wundervoll in die Praxis umgesetzt hat, sucht auch seinesgleichen. Michael aus Erlangen gab mir auch stets hilfsbereit Tips, und Christian war auch eine wertvolle Informationsquelle!
THANK YOU ALL FROM THE BOTTOM OF MY HEART!
Thus, the observatory, which bears the name of Paul Stephani Observatorium (after my dear grandfather, who got me started in astronomy when I was five).
Hier ist sie in voller Pracht nach 80h Arbeitseinsatz:
7. Tips and Lessons Learned
1. start planning in good time
2. read, ask, understand!
3. Für ausreichenden finanziellen Spielraum sorgen
4. take your time and don't rush things
5. Beim Bauamt fragen ob eine Genehmigung erforderlich ist (bei mir wars nicht so)
6. Säule und Fundament ausreichend dimensionieren
7. inform the neighbours what you are up to. Calms them down immensely
8. Säule ausreichend hoch planen.
9. organise sufficient assistants
10. Ausreichend elektrische Reserven lassen (Steckdosen etc.)
and last but not least:
LOOK FORWARD TO THE RESULT!
